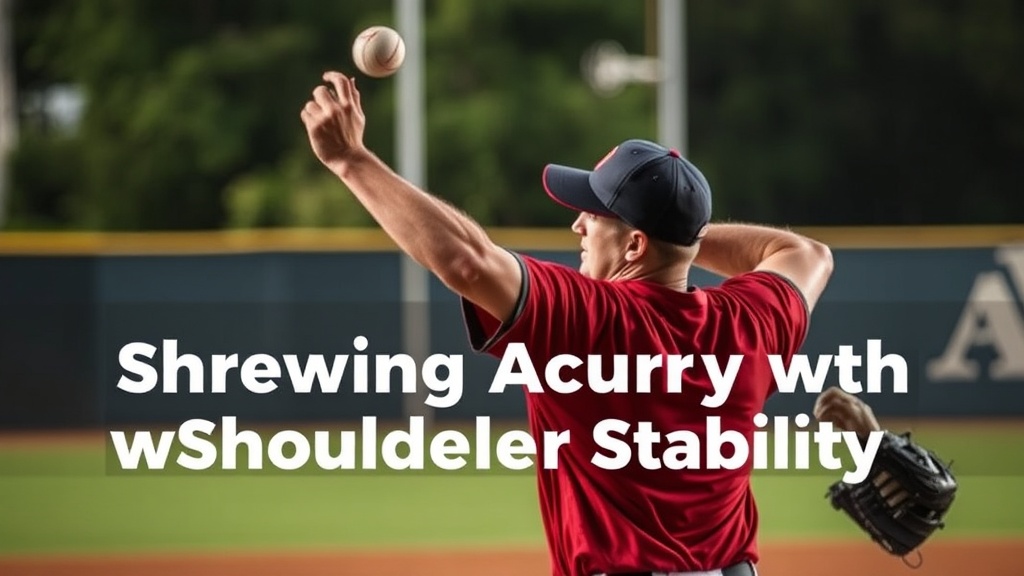
How to Improve Your Throwing Accuracy with Shoulder Stability

The Mechanics of Precision: Building a Stable Shoulder for Accurate Throws
This guide provides specific protocols for increasing your throwing accuracy by strengthening the rotator cuff and stabilizing the scapular muscles. You will learn how to move beyond raw power and focus on the structural integrity required to hit moving targets under pressure. We will cover the anatomical necessity of shoulder stability, specific resistance training exercises, and the kinetic chain integration required for high-level competitive play.
In competitive dodgeball, accuracy is often more valuable than velocity. A 60mph throw that hits the shoulder is a wasted shot; a 40mph throw that hits the center of the chest or the foot is a game-changer. The difference between these two outcomes is often not your arm speed, but your shoulder stability. If your scapula (shoulder blade) is not stable, your humerus (upper arm bone) will wobble within the socket during the deceleration phase of your throw, leading to "mismatched" contact points and inconsistent trajectories.
The Anatomy of a Stable Throw
To understand why your accuracy fluctuates, you must understand the role of the rotator cuff. The rotator cuff consists of four muscles: the supraspinatus, infraspinatus, teres minor, and subscapularis. These muscles act as the "steering" mechanism for your arm. While your larger muscles like the pectorals and latissimus dorsi provide the explosive force, the rotator cuff ensures the head of the humerus stays centered in the glenoid fossa (the shoulder socket).
When these stabilizing muscles are weak or fatigued, the shoulder undergoes micro-instability. This instability causes a "leak" in your kinetic chain. Instead of the energy from your legs and core transferring smoothly through your torso and into the ball, the energy dissipates at the shoulder joint. This results in a "late" release or a "flick" that sends the ball wide of the target. If you find yourself missing low or wide during the final sets of a tournament, it is likely a stability issue rather than a lack of strength.
Essential Scapular Stabilization Exercises
A stable throw starts with a stable base. You cannot have a precise throw if your shoulder blade is sliding uncontrollably across your ribcage. Focus on these three categories of movement to build a foundation of stability.
1. Scapular Control and Setting
The first step is learning to "set" your scapula. This is the ability to pull the shoulder blade down and back into a neutral position. A common mistake in the dodgeball court is "shrugging" the shoulder toward the ear during a high-velocity throw, which creates tension and destroys accuracy.
- Scapular Push-Ups: Get into a high plank position. Without bending your elbows, allow your chest to sink toward the floor by retracting your shoulder blades. Then, push the floor away to protract your blades. This builds the serratus anterior, a muscle critical for keeping the shoulder blade pinned to the ribs.
- Wall Slides: Stand with your back against a wall, arms in a "W" shape. Slowly slide your arms up toward a "Y" shape while keeping your wrists and elbows in contact with the wall. This trains the lower trapezius to control the upward rotation of the scapula.
2. Rotator Cuff Strengthening (The Internal and External Rotators)
The goal here is not hypertrophy (muscle growth), but endurance and control. Use light resistance, such as a Theraband or a light Black Mountain resistance band, to ensure you are targeting the small stabilizing muscles rather than the large motor muscles.
- External Rotation: Hold a resistance band with your elbow tucked into your side at a 90-degree angle. Rotate your forearm outward away from your body. Control the return phase—do not let the band snap your arm back.
- Face Pulls: Using a cable machine or a heavy resistance band, pull the weight toward your forehead while pulling your hands apart. This strengthens the posterior deltoid and the mid-trapezius, which are essential for the deceleration phase of a throw.
- The "Empty Can" Exercise: Raise your arm at a 30-degree angle to the side (the scapular plane) with your thumb pointed toward the floor. This specifically targets the supraspinatus, which is often the first muscle to fail during long matches.
3. Dynamic Stability and Proprioception
Proprioception is your body's ability to sense its position in space. In a fast-paced dodgeball game, you aren't just throwing from a static position; you are throwing while lunging, retreating, or twisting. You need to train your shoulder to remain stable during movement.
- Single-Arm Kettlebell Bottoms-Up Carry: Hold a kettlebell upside down (the handle is in your hand, the heavy bulb is in the air). Walk for 30-40 yards. This forces the small stabilizer muscles in your shoulder to constantly adjust to the shifting center of gravity.
- Medicine Ball Wall Tosses: Using a light 4lb or 6lb medicine ball, stand close to a wall and perform quick, controlled chest passes. This mimics the rapid-fire nature of a dodgeball engagement while forcing the shoulder to stabilize the impact.
Integrating Stability into Your Throwing Mechanics
Once you have built the strength, you must teach your nervous system how to use it. Strength without coordination is useless on the court. Use the following progression to integrate your new stability into your actual throwing motion.
Phase 1: The Controlled Isometrics. Before a match or a heavy practice, perform isometric holds. Hold a medicine ball at the point of your release for 10 seconds. This "primes" the neuromuscular system, telling your brain exactly where the arm should be held steady during the most critical part of the throw.
Phase 2: The Kinetic Chain Connection. Accuracy is a full-body event. A throw begins in the feet, moves through the hips, rotates through the core, and finally exits the shoulder. If your core is weak, your shoulder has to overcompensate to generate power, leading to instability. Ensure you are practicing lateral lunges and rotational core work (like Russian Twists) to support your throwing arm. If you are feeling the effects of fatigue, remember that building explosive lateral movement is just as important as the throw itself, as your base of support dictates your throwing platform.
Phase 3: The Deceleration Drill. Most players focus on the "hit," but the "follow-through" is where accuracy is won or lost. After you release the ball, your shoulder must undergo a massive eccentric load to slow your arm down. If your deceleration is weak, your next throw will be inaccurate because your shoulder hasn't "reset" to its neutral position. Practice throwing with a full, controlled follow-through, ensuring your arm finishes across your body in a controlled manner rather than flailing.
Common Pitfalls to Avoid
Even with a solid routine, certain habits can undermine your progress. Watch out for these three common errors:
- Over-reliance on the Elbow: Many players try to "snap" the ball using only the elbow and wrist. This places an immense amount of stress on the shoulder joint and reduces the ability to aim. Use your torso rotation to drive the throw, allowing the shoulder to act as a stable hinge rather than a primary engine.
- Training Through Sharp Pain: There is a difference between the "burn" of muscle fatigue and the "sharpness" of joint pain. If you feel a pinching sensation in the front or top of your shoulder during external rotation, stop immediately. You may be dealing with subacromial impingement. Resting and icing is better than a three-month injury layoff.
- Ignoring Recovery: High-intensity throwing is taxing on the central nervous system and the small muscle groups of the shoulder. If you are not prioritizing recovery, your stability will plummet. If you find your aim getting wild during a long tournament, check your recovery habits. Proper rest and quality sleep are essential for maintaining the neurological control required for precision.
The Weekly Training Schedule
To see measurable improvements in your accuracy, consistency is required. Do not treat these exercises as a one-off fix. Follow this weekly structure:
- Pre-Game/Pre-Practice (Daily): 5 minutes of Banded External Rotations and Scapular Wall Slides. This is your "warm-up," not a workout.
- Strength Days (2x Per Week): Perform the Kettlebell Bottoms-Up Carry and the Medicine Ball Wall Tosses. These are more taxing and should be done when you are fresh.
- Recovery/Mobility Days (1x Per Week): Focus on thoracic spine mobility and light stretching of the pectoralis minor to ensure your shoulders aren't being pulled forward by tight chest muscles.
Accuracy is the hallmark of a veteran player. By prioritizing shoulder stability over raw, unguided force, you move from being a player who simply "throws hard" to a player who "hits targets." Treat your shoulders like a precision instrument, and the results on the court will follow.
Steps
- 1
Strengthen the Rotator Cuff
- 2
Build Scapular Stability
- 3
Incorporate Dynamic Movement
- 4
Practice Controlled Rotations